


Guide to Laying
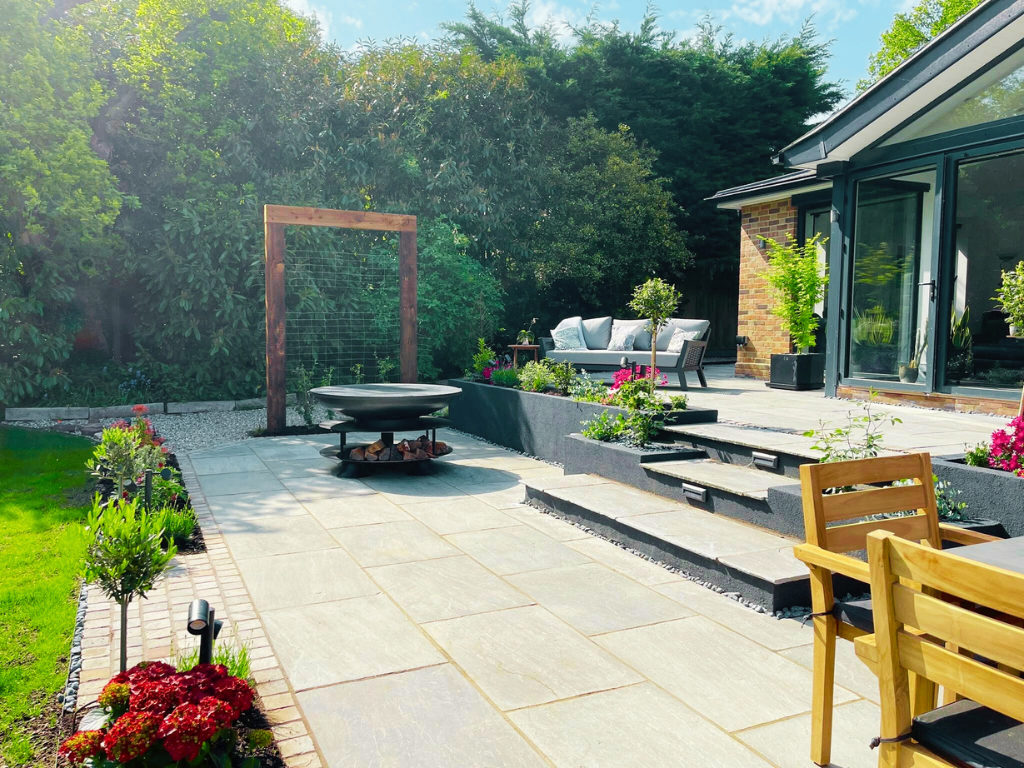
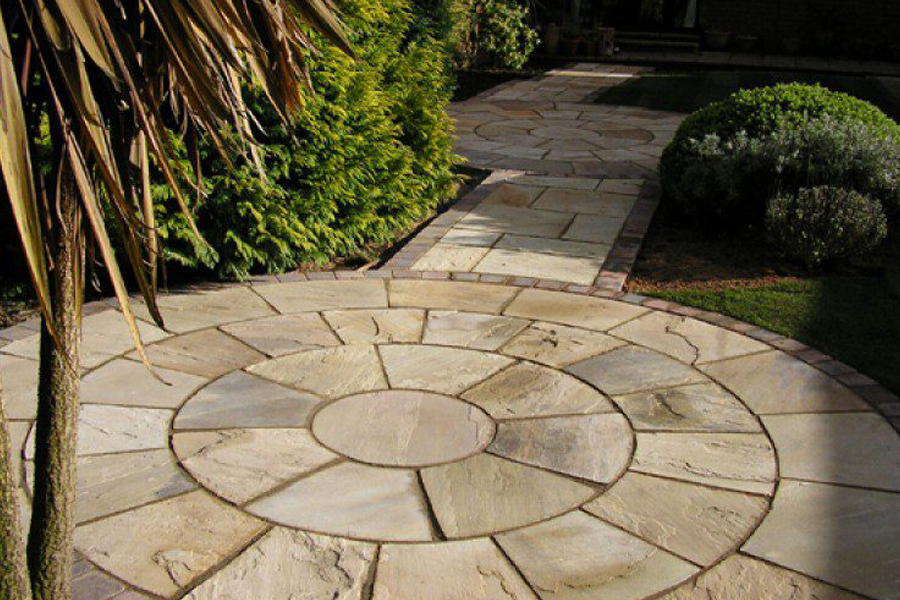
Laying Natural Indian Sandstone
Below is a guide on laying Natural Indian Sandstone.
Site Preparation
All paving should be laid on a firm, well drained base to ensure long-term stability and usage.
It is essential for preparatory groundwork to be correct and the use of hardcore as a sub-base to ensure adequate site drainage for your paved area. Poor drainage may result in water retention which will affect the stability of the natural Indian sandstone. All vegetation and top soil should be removed to an approximate depth of 165mm ensuring that allowance is made for a fall of 1:60 away from any buildings and walls for surface drainage.
Then lay a 100mm sub-base (150mm for vehicular traffic) of compacted hardcore.
Laying the Sandstone
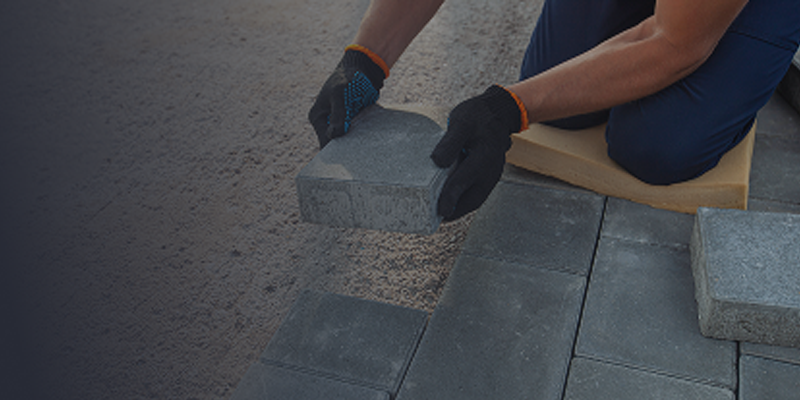
All Natural Indian Sandstone Paving should be laid on a full, wet bed of 25mm thick mortar (5 parts building sand to 1 part cement).
When it comes to landscaping and garden stone paving it is usually preferable to start with full slabs laid adjacent to a fixed point such as the house or boundary wall and work towards an edge which may be adjustable.
Ensure enough mortar is spread into each joint, and with a trowel, draw and butter this mortar to the side of the slab, thus minimizing pointing afterwards. Tap each slab down to the correct level using a rubber mallet. Continually check levels and falls during the laying process across the top surface profile of a number of slabs. It is important to equalize the slab joints as you progress by gently using your trowel as a lever.
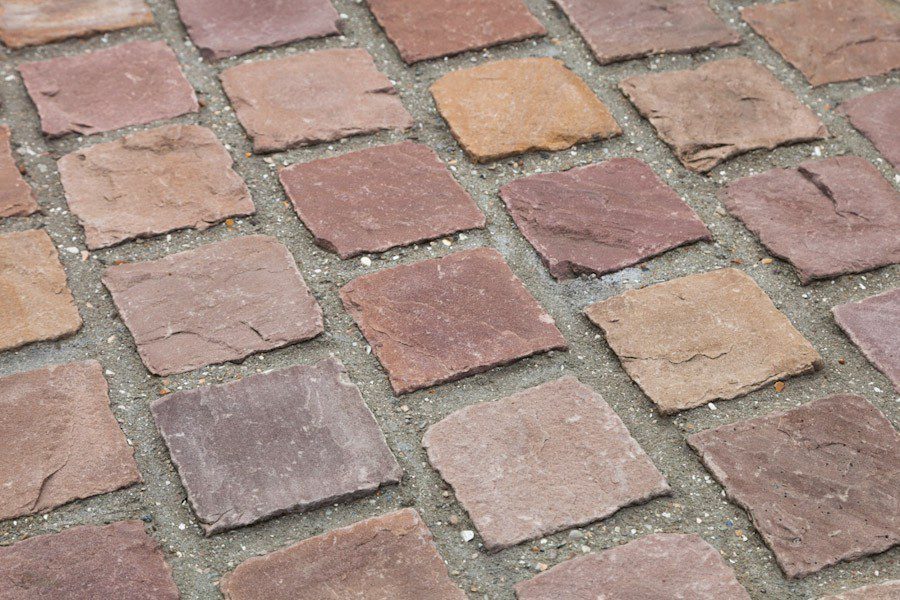
Information based on 10mm joint widths.
Do not walk on the paving for at least 24 hours.
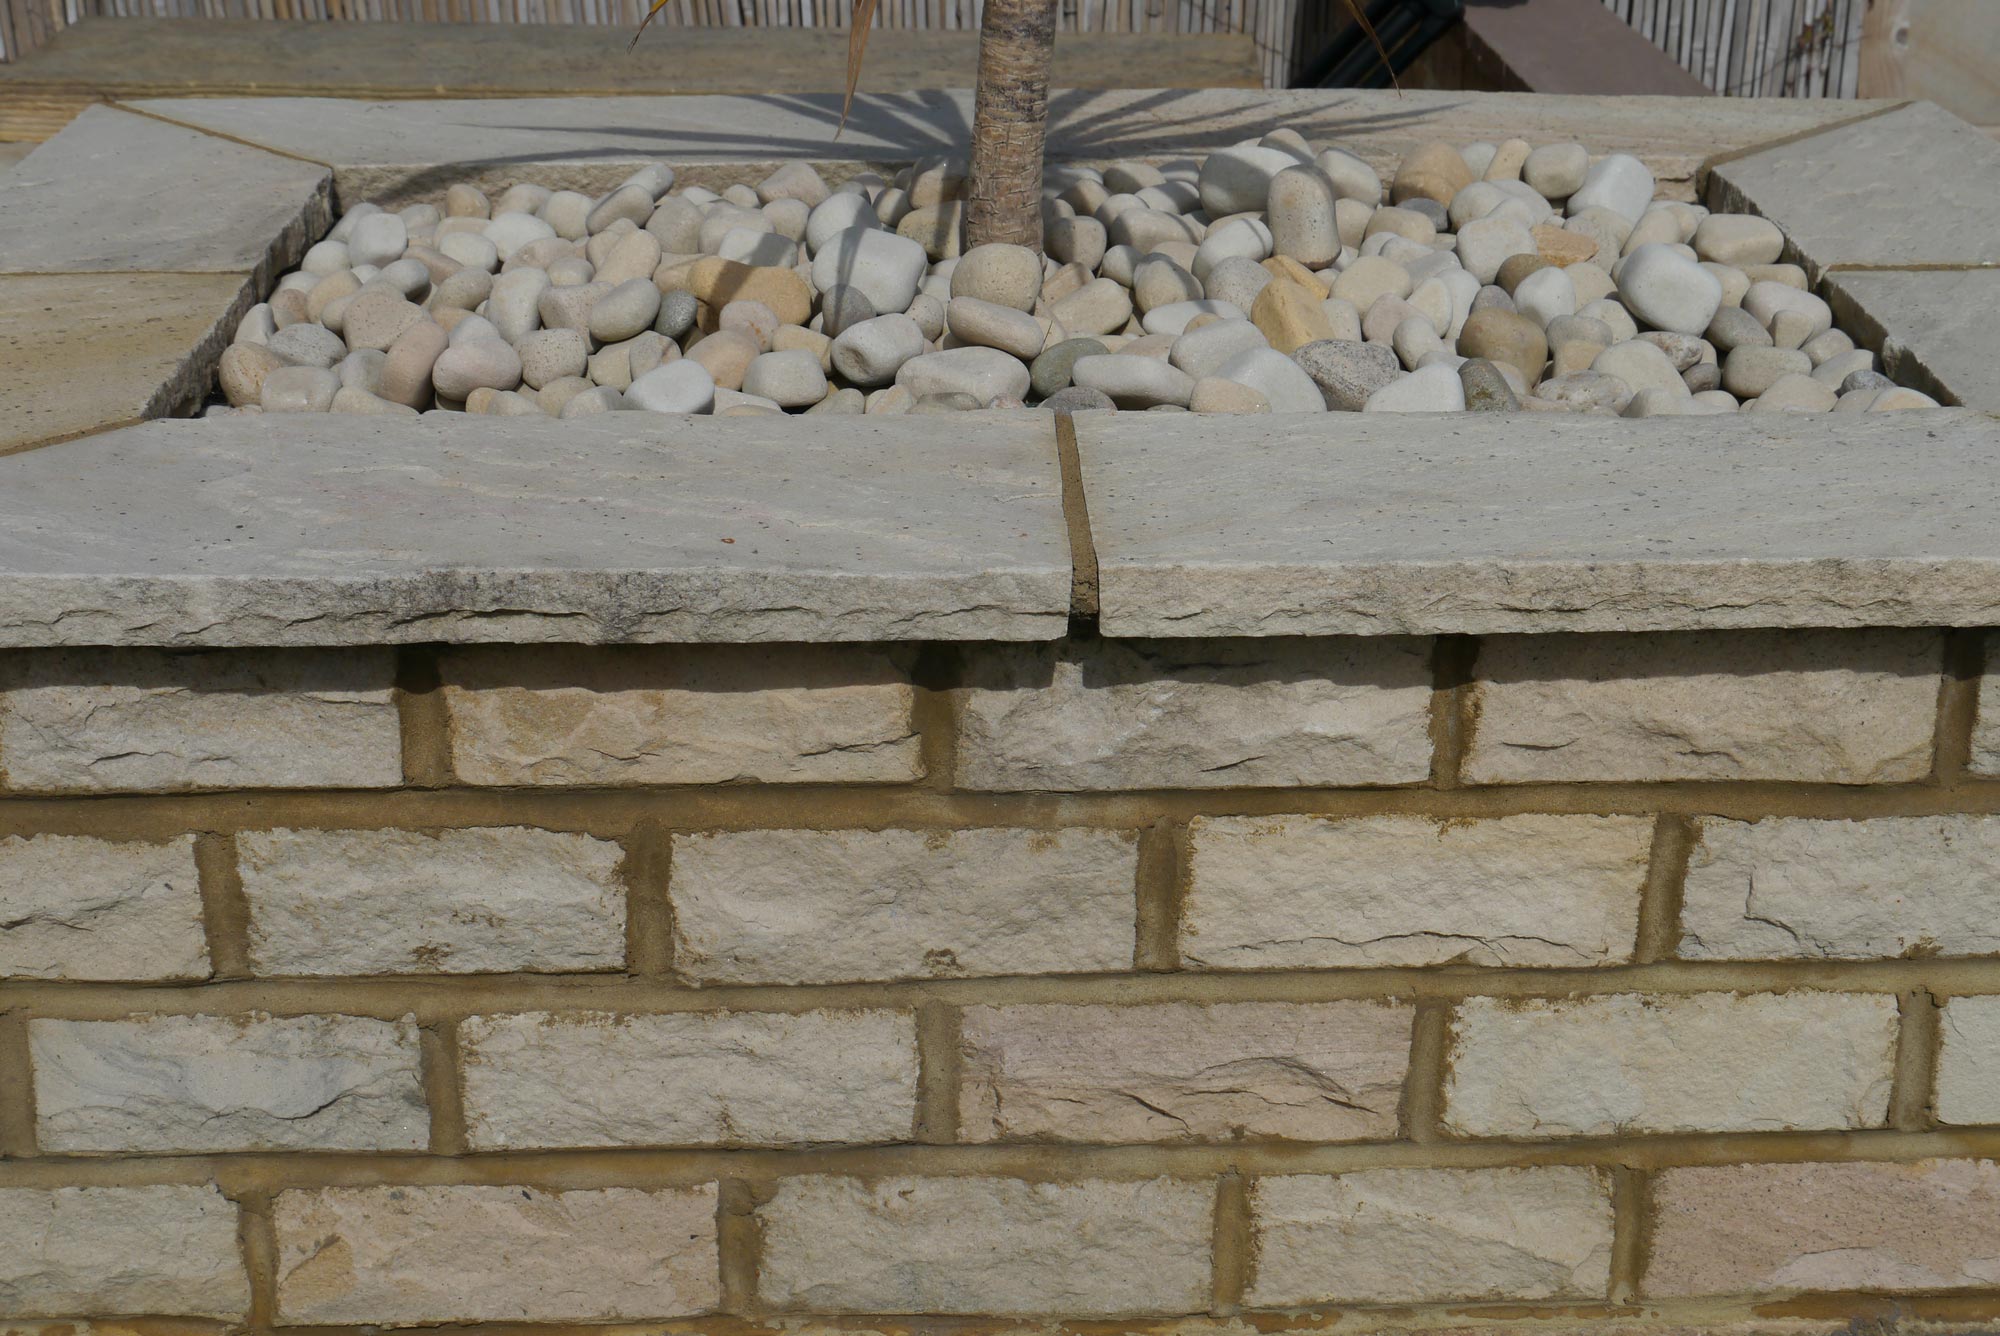
Important Note: The largest face should be used uppermost, as shown in the image.
Cutting
If your project involves cutting, the use of a powered disc cutter is necessary. A diamond tipped blade is recommended for natural Indian sandstone to ensure clean and accurate cutting. Always wear appropriate personal protective equipment, i.e. goggles. (Useful tip: To help maintain the ‘hand-dressed edge’ appearance, it is advisable to cut from the back face to within 5mm of the front face and then carefully break the slab over a straight edged object).